How to Hang and Mount a Wooden Sign
Weigh the sign first: a kitchen scale is enough. Into a stud, a #8 wood screw holds almost any sign; in drywall alone, use an anchor or toggle rated for at least double the sign's weight. Mark from the hangers rather than the board edge, and mount outdoors so water drains.
Hanging comes down to two things: which wall you are dealing with and which measurement to take.
What hardware do you need to hang a wooden sign?
Weigh the sign first, then buy anchors rated for roughly twice that number. A sign under two pounds needs only a sawtooth hanger and a nail. Anything heavier, or wider than a foot, wants a stud or a rated anchor at two points, not one.

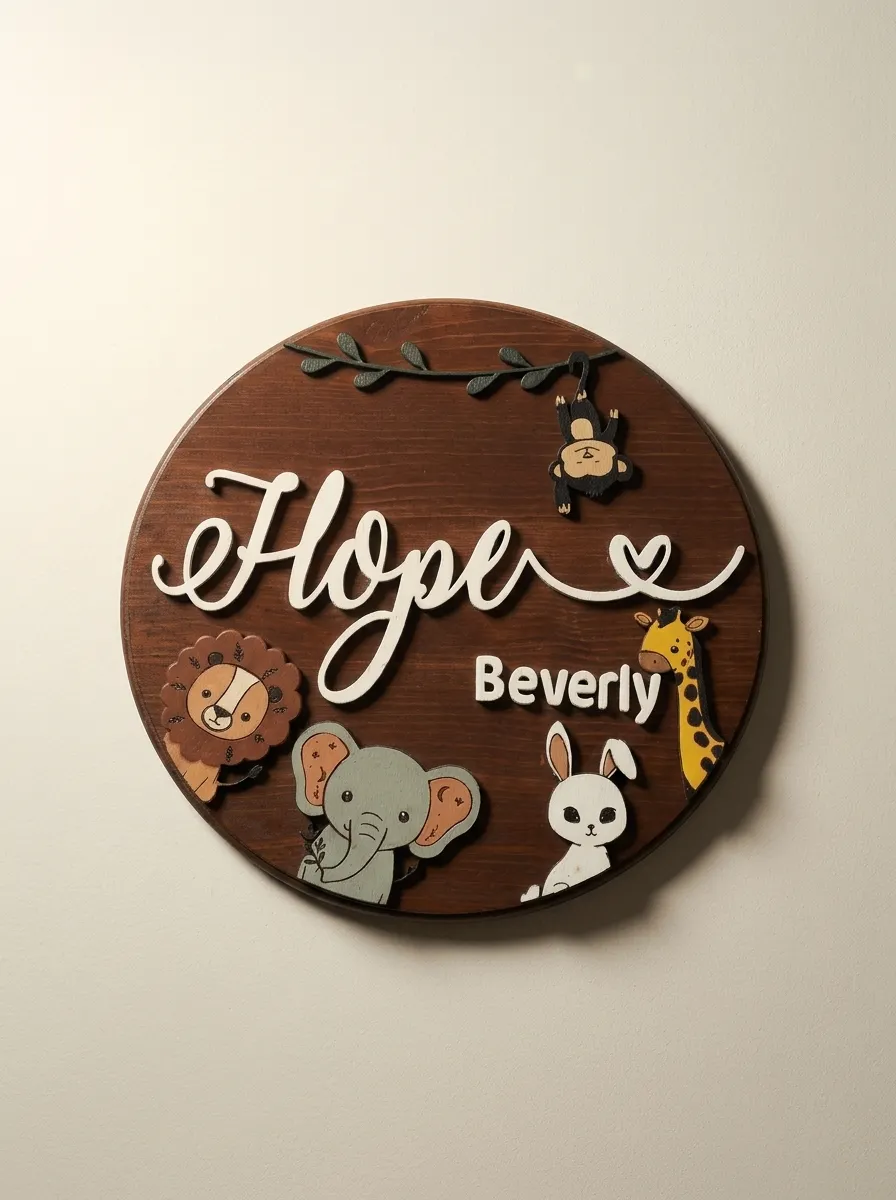
Put the sign on a kitchen scale before you decide anything else. A small engraved name plaque might be under a pound, and a large layered piece in solid hardwood can push past ten. The hardware those two need is not the same. Guessing by eye goes wrong in both directions, because dense hardwood is heavier than it looks and a thick-looking board can be surprisingly light. Our own Personalized Safari Baby Name Sign sits under two pounds, so it ships with a single sawtooth hanger already on the back: one nail and a level is enough for a piece that size.
Then buy for roughly twice that number. Anchor packaging quotes a static load, meaning a steady straight-down pull under laboratory conditions. Real walls get slammed doors and footsteps on the floor above. Doubling the rating leaves margin for that.
Weight also decides one fixing or two. Anything wider than about a foot wants two points regardless of what it weighs, and not for strength. Two points stop it rotating. A sign on a single central hanger drifts out of level again and again.
How high should you hang a wooden sign?
The museum convention is to center a piece 57 to 60 inches from the floor, which is average standing eye level. The centers line up even when the frames are all different sizes. Use it for a sign on an open stretch of wall, in a hallway, or in an entryway.
The moment the sign hangs over furniture, that rule stops applying. The reference becomes the furniture, not the floor. Leave 6 to 10 inches between the top of a sofa back, console, or headboard and the bottom of the sign. Closer than about six inches looks cramped. Much beyond ten and the two stop reading as a group and start looking like two unrelated things sharing a wall.
Either way, cut a paper rectangle to the sign's exact size, tape it up, and leave it for an hour. Walk past it a few times. If you have not settled on a size yet, our porch sign sizing guide covers the letter-height math that decides how big the sign needs to be in the first place.
Free guide
Not sure what size to order?
Get the Sign Sizing Guide: how to measure the space you have, how viewing distance sets the letter height you need, and the proportions that make a sign read well once it is up. We send the link by email.
What anchors work in drywall, plaster, and brick?
Into a stud, a plain wood screw is enough on any wall type. Off a stud in drywall or plaster, use a threaded anchor or toggle rated for twice the sign's weight. Brick needs a masonry anchor set into the drilled mortar joint, never the brick face.
| Wall | Use | Watch out for |
|---|---|---|
| Drywall, into a stud | A #8 wood screw, nothing more | Nothing |
| Drywall, no stud | Threaded anchor or toggle, rated 2× the weight | The free plastic plugs in a hardware pack: they pull out |
| Plaster and lath | Slow-drilled pilot hole, then a toggle | Forcing the bit spalls the face around the hole |
| Brick or stone | Masonry bit and plug, in the mortar joint | Drilling the brick face: harder to repair than mortar |
| Exterior siding | Exterior screws into framing, on a spacer | Mounting flush; plain steel screws that bleed rust |
Run a stud finder across the whole mounting area before deciding anything, and mark both edges of whatever it finds so you know where the center is. Studs sit about 16 inches apart in most homes, so on a wide sign there is a fair chance of catching one on at least one side. Half in a stud and half on a good anchor is a perfectly sound way to hang a sign.
How do you hang a heavy wooden sign securely?
Weigh it first, then buy anchors rated at twice that weight. Once a sign is over about two pounds or wider than a foot, use two fixing points instead of one: a #8 wood screw straight into a stud where you can find one, or a toggle rated for double the weight where you cannot.
Step-by-step: hanging the sign
-
Weigh it, then buy hardware for double
Kitchen scale, ten seconds. Then choose anchors rated for at least twice that. The printed rating assumes an ideal static pull; real walls do not provide one.
-
Tape up a paper template
Cut paper to the sign's exact outline and tape it where you think it goes. Live with it for an hour. This is the cheapest possible time to change your mind.
-
Find and mark the studs
Sweep the stud finder across the area and mark both edges of anything it detects, so you can aim at the center rather than the edge. A screw into a stud holds more than an anchor.
-
Measure between the hangers, not the board edges
Turn the sign over and measure center-to-center between the two D-rings or keyholes. That is the number that goes on the wall. Measuring the outside of the board instead is what leaves a sign refusing to sit straight, because the hardware is rarely perfectly centered on the back.
-
Level the two marks before drilling
Put a spirit level across both pencil marks and adjust until the bubble is centered. Thirty seconds here saves patching a hole later. Trust the level over the ceiling line or the top of a door frame: neither is as level as it looks.
-
Drill to the anchor, not to the screw
Match the bit diameter to the anchor body. On drywall, seat the anchor flush with the surface. On plaster, let the bit cut at its own pace instead of pushing, or the face will crumble around the hole. On brick, aim for the mortar joint.
-
Hang it and re-check
Seat the sign on both fixings, then put the level back on the top edge. Sawtooth and wire hangers usually leave a few millimeters of play: use it now, while you still have the level in your hand.
-
Bumpers at the bottom corners
A small felt or rubber bumper at each bottom corner keeps the sign from creeping out of level with every closing door, and stops the finish rubbing a mark into the paint behind it.
How do you mount a wooden sign outdoors?
Mount it a quarter to half an inch proud of the wall, on stacked washers behind each screw or on a thin cleat, and use stainless or exterior-coated screws. The gap drains rain and lets air dry the back. Flush mounting is what traps water and starts rot.
A sign held flat against siding stays wet on its hidden face for hours or days after the front looks dry. That trapped face is where finish fails first and where rot starts, often long before the visible side shows anything at all. The gap costs a few cents in washers.
Use stainless steel screws, or ones with a coating rated for exterior use. Plain steel or zinc corrodes, and the rust bleeds down the face as a brown streak that soaks into the finish rather than sitting on top of it: you cannot wipe it off later. Where the sign takes real weather, drill slightly oversized clearance holes so the board can move seasonally without splitting around the fixings; wood expands and contracts across the grain, and pinning it rigidly at two points is how a sign cracks.
None of this substitutes for a finish. Mounting keeps water off the back; sealing keeps it out of the grain. Both jobs need doing: our guide to sealing a wooden sign for outdoors covers which finish to use and how many coats it takes.
Wood movement and where to hang
Wood is not inert. It takes on moisture from the air and gives it back, expanding and contracting across the grain as it does. Indoors that movement is small. In a bathroom, above a range, or on an exterior wall it is considerably larger, and a sign fixed rigidly at two points has nowhere to put it.
In practice this means two things. Slightly oversized clearance holes anywhere the sign will see humidity swings, so the fixings do not pin the board. And a little thought about placement: directly above a radiator or a cooker is a harsh indoor spot, because the wood cycles dry and damp repeatedly rather than settling.
How much any of this matters depends on the wood. We compare the species we work with in our guide to the best wood types for personalized signs.
Common questions about hanging wooden signs
How high should you hang a wooden sign?
Center it 57 to 60 inches from the floor on an open wall, roughly eye level, and the convention galleries use. Over a sofa, console, or headboard, ignore the floor and hang it 6 to 10 inches above the furniture so the two read as one group instead of two separate objects.
What hardware do I need to hang a wood sign on drywall?
Into a stud, a #8 wood screw is enough for almost any sign. Where there is no stud, use a threaded drywall anchor or a toggle rated for at least double the sign weight. Skip the small plastic expansion plugs that come free in a hardware pack: they pull out under load.
How do I hang a sign on brick without drilling into the brick?
Drill the mortar joint instead of the brick face. Mortar is softer, takes a masonry plug well, and is far easier to patch later if you move the sign. Brick clips that grip the lip of a course are an option for lighter pieces and leave no hole at all.
How do I keep a hanging sign from going crooked?
Two fixing points instead of one, and a felt or rubber bumper at each bottom corner. A single central hanger lets the sign pivot every time someone shuts a door; two points plus bumpers removes the pivot entirely.
Can I hang a wooden sign outdoors flush against the wall?
Better not to. Mount it a quarter to half an inch off the surface on washers or a cleat so water drains and air can dry the back. A board held flat against siding stays damp on the hidden face long after the front has dried, and that is where the rot starts.
What screws should I use for an outdoor wood sign?
Stainless steel, or screws with an exterior coating rated for outdoor use. Plain steel or zinc screws corrode and bleed a rust streak down the face of the sign, and that stain soaks into the finish rather than sitting on it.
Our signs ship ready to hang
Every wall piece we make leaves the studio with a sawtooth hanger already fitted and centered on the back, so the measurement you take off it is the measurement that goes on the wall. You supply the anchors suited to your wall, since only you know what is behind the plaster. Curious what happens before a sign reaches that point? We walked through the process start to finish in how a personalized wood sign is made. The same hardware ships with every personalized anniversary gift we make, so a piece ordered as a gift is ready for its wall the day it arrives.
Not sure what your wall can take, or what a particular piece weighs before you buy? Contact us: we build each one ourselves and can give you the actual weight and hardware fitted. Or start with what is in the shop and we will note the mounting details with your order.