Inside the studio: how a personalized wood sign is made
We send a free proof within 24 hours of your order and cut once you approve it, using Baltic birch, natural or walnut-stained, never MDF. The design is laser cut, then hand-sanded through three grits over roughly 3 to 4 hours, finished with a matte oil or sealer (the product page names which), and checked against your order before it ships in 3 to 5 business days after you approve the proof.
Between clicking “place order” and a box showing up on your porch, a person handles every sign: proof, board, laser, sanding, finish, check and packing.
The order lands, and the clock starts
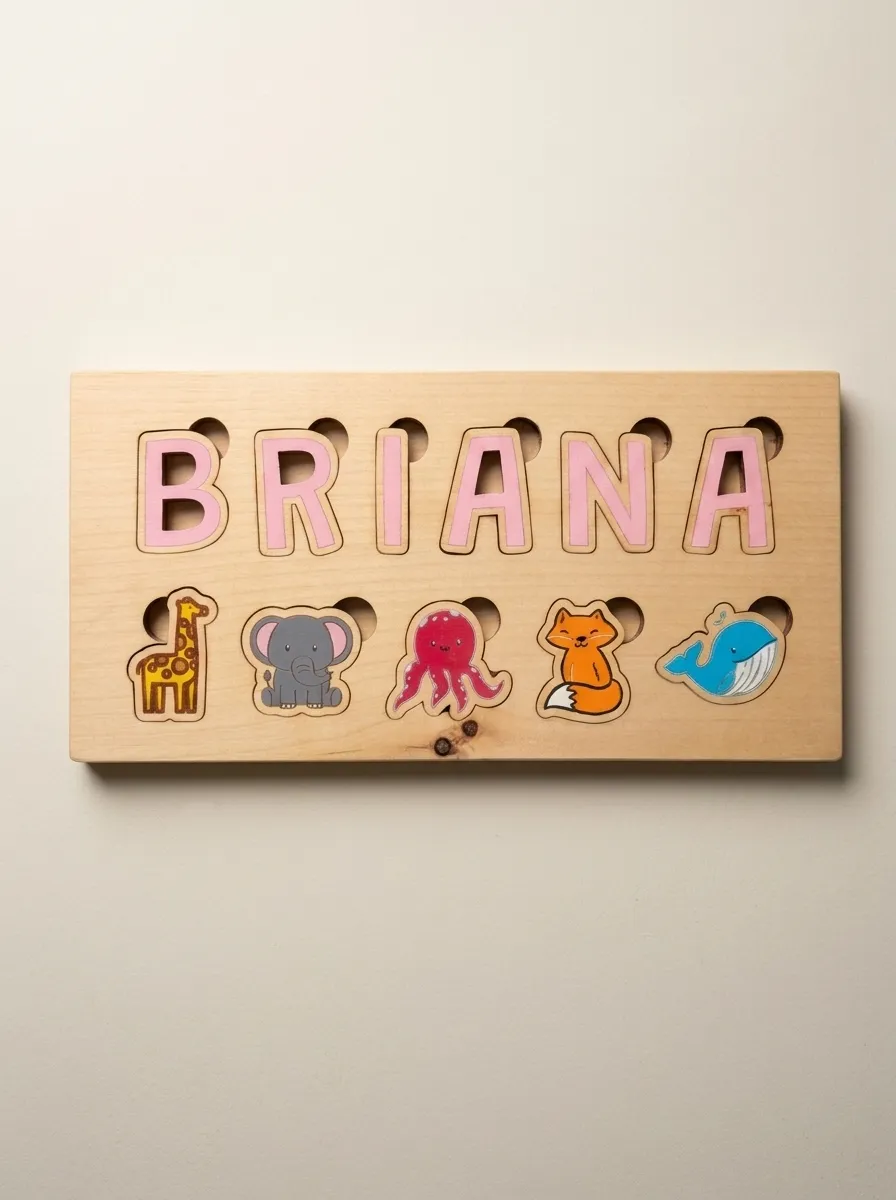
Your free proof arrives within 24 hours of your order. That’s a queue rule we hold ourselves to, because it’s the first thing you have to trust before anything else matters. If you’ve ordered a baby name sign with a specific name and letter style, that spelling and that style go into the proof, and then into the file we cut from once you approve it, not whenever we get around to it.
Most pieces ship in 3 to 5 business days from there. A full wedding welcome sign with two names and a date runs 5 to 7, since there’s more surface to engrave and finish. If your event date is close, message us before you order. We’d rather confirm the queue with you than have you find out the day of.
Choosing the board
Every sign starts as Baltic birch plywood, never MDF. We work in Baltic birch, and the choice you make is the finish rather than the tree. Left natural, birch reads warm and honey-toned, with an even grain across the board. A walnut-tone stain takes the same panel dark, from chocolate-brown to warm amber depending on how the grain drinks it, which is why no two stained boards land identically. If a name is going in a nursery next to lighter furniture, we’ll often point a customer toward the natural birch. If it’s going above a fireplace with dark trim, the walnut tone usually wins.
We pick the board per order, not per batch. We look at the actual grain in front of us and choose the section that suits the piece, rather than pulling from whatever’s next in a stack.
Laser cutting: precision, not shortcuts
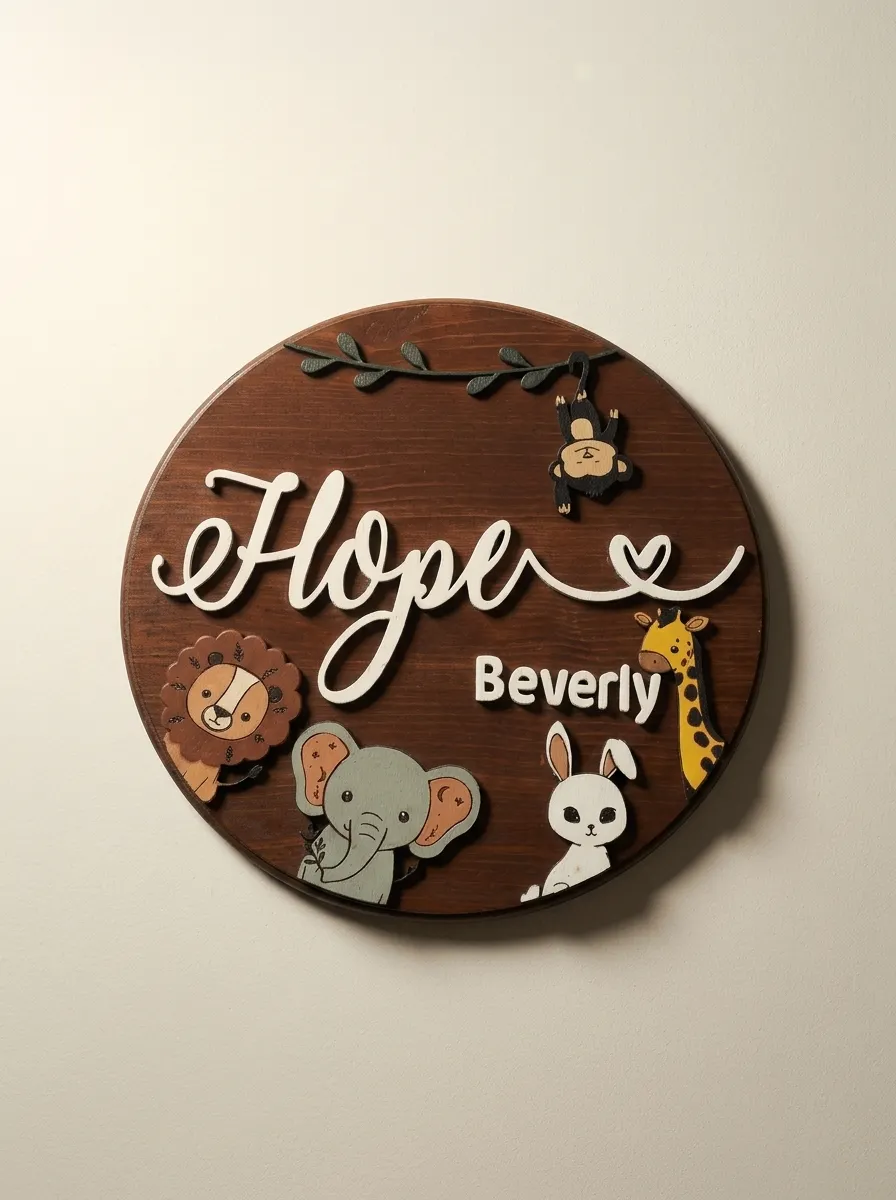
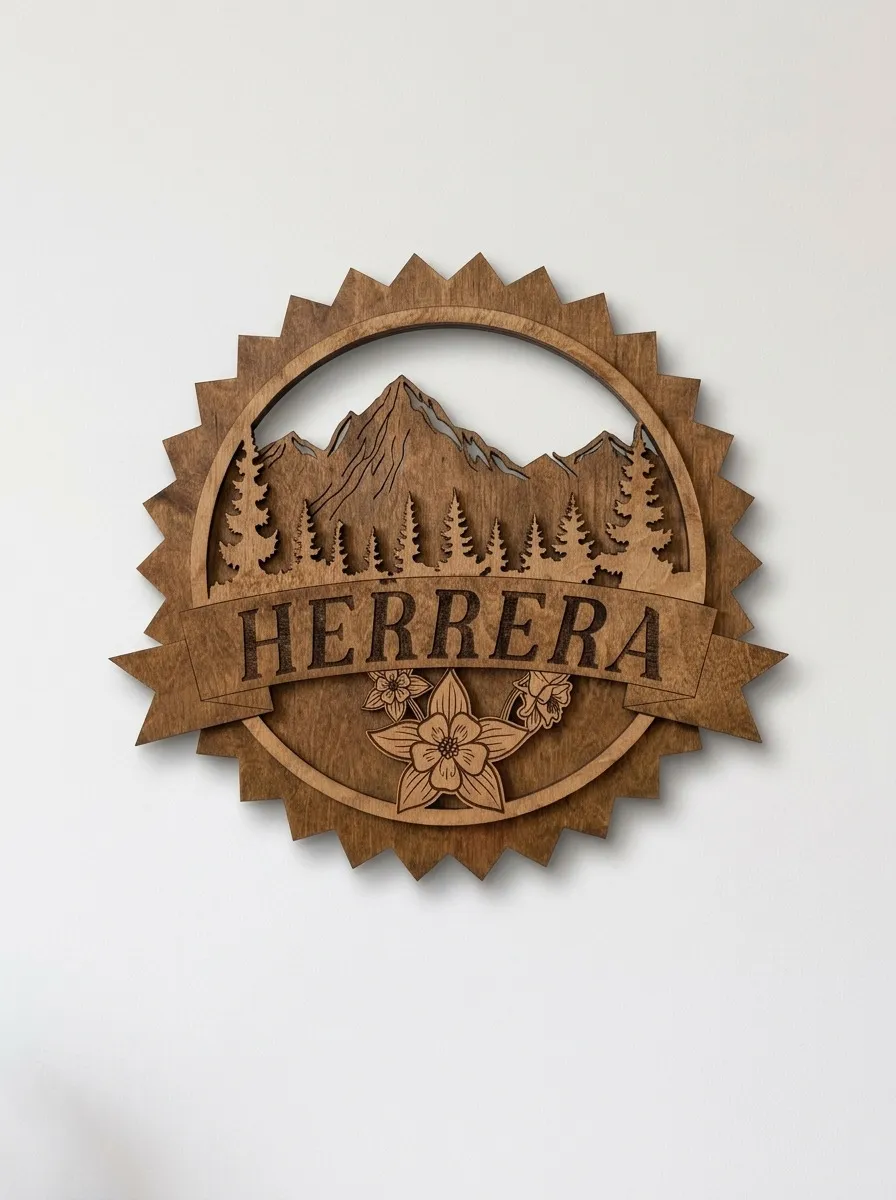
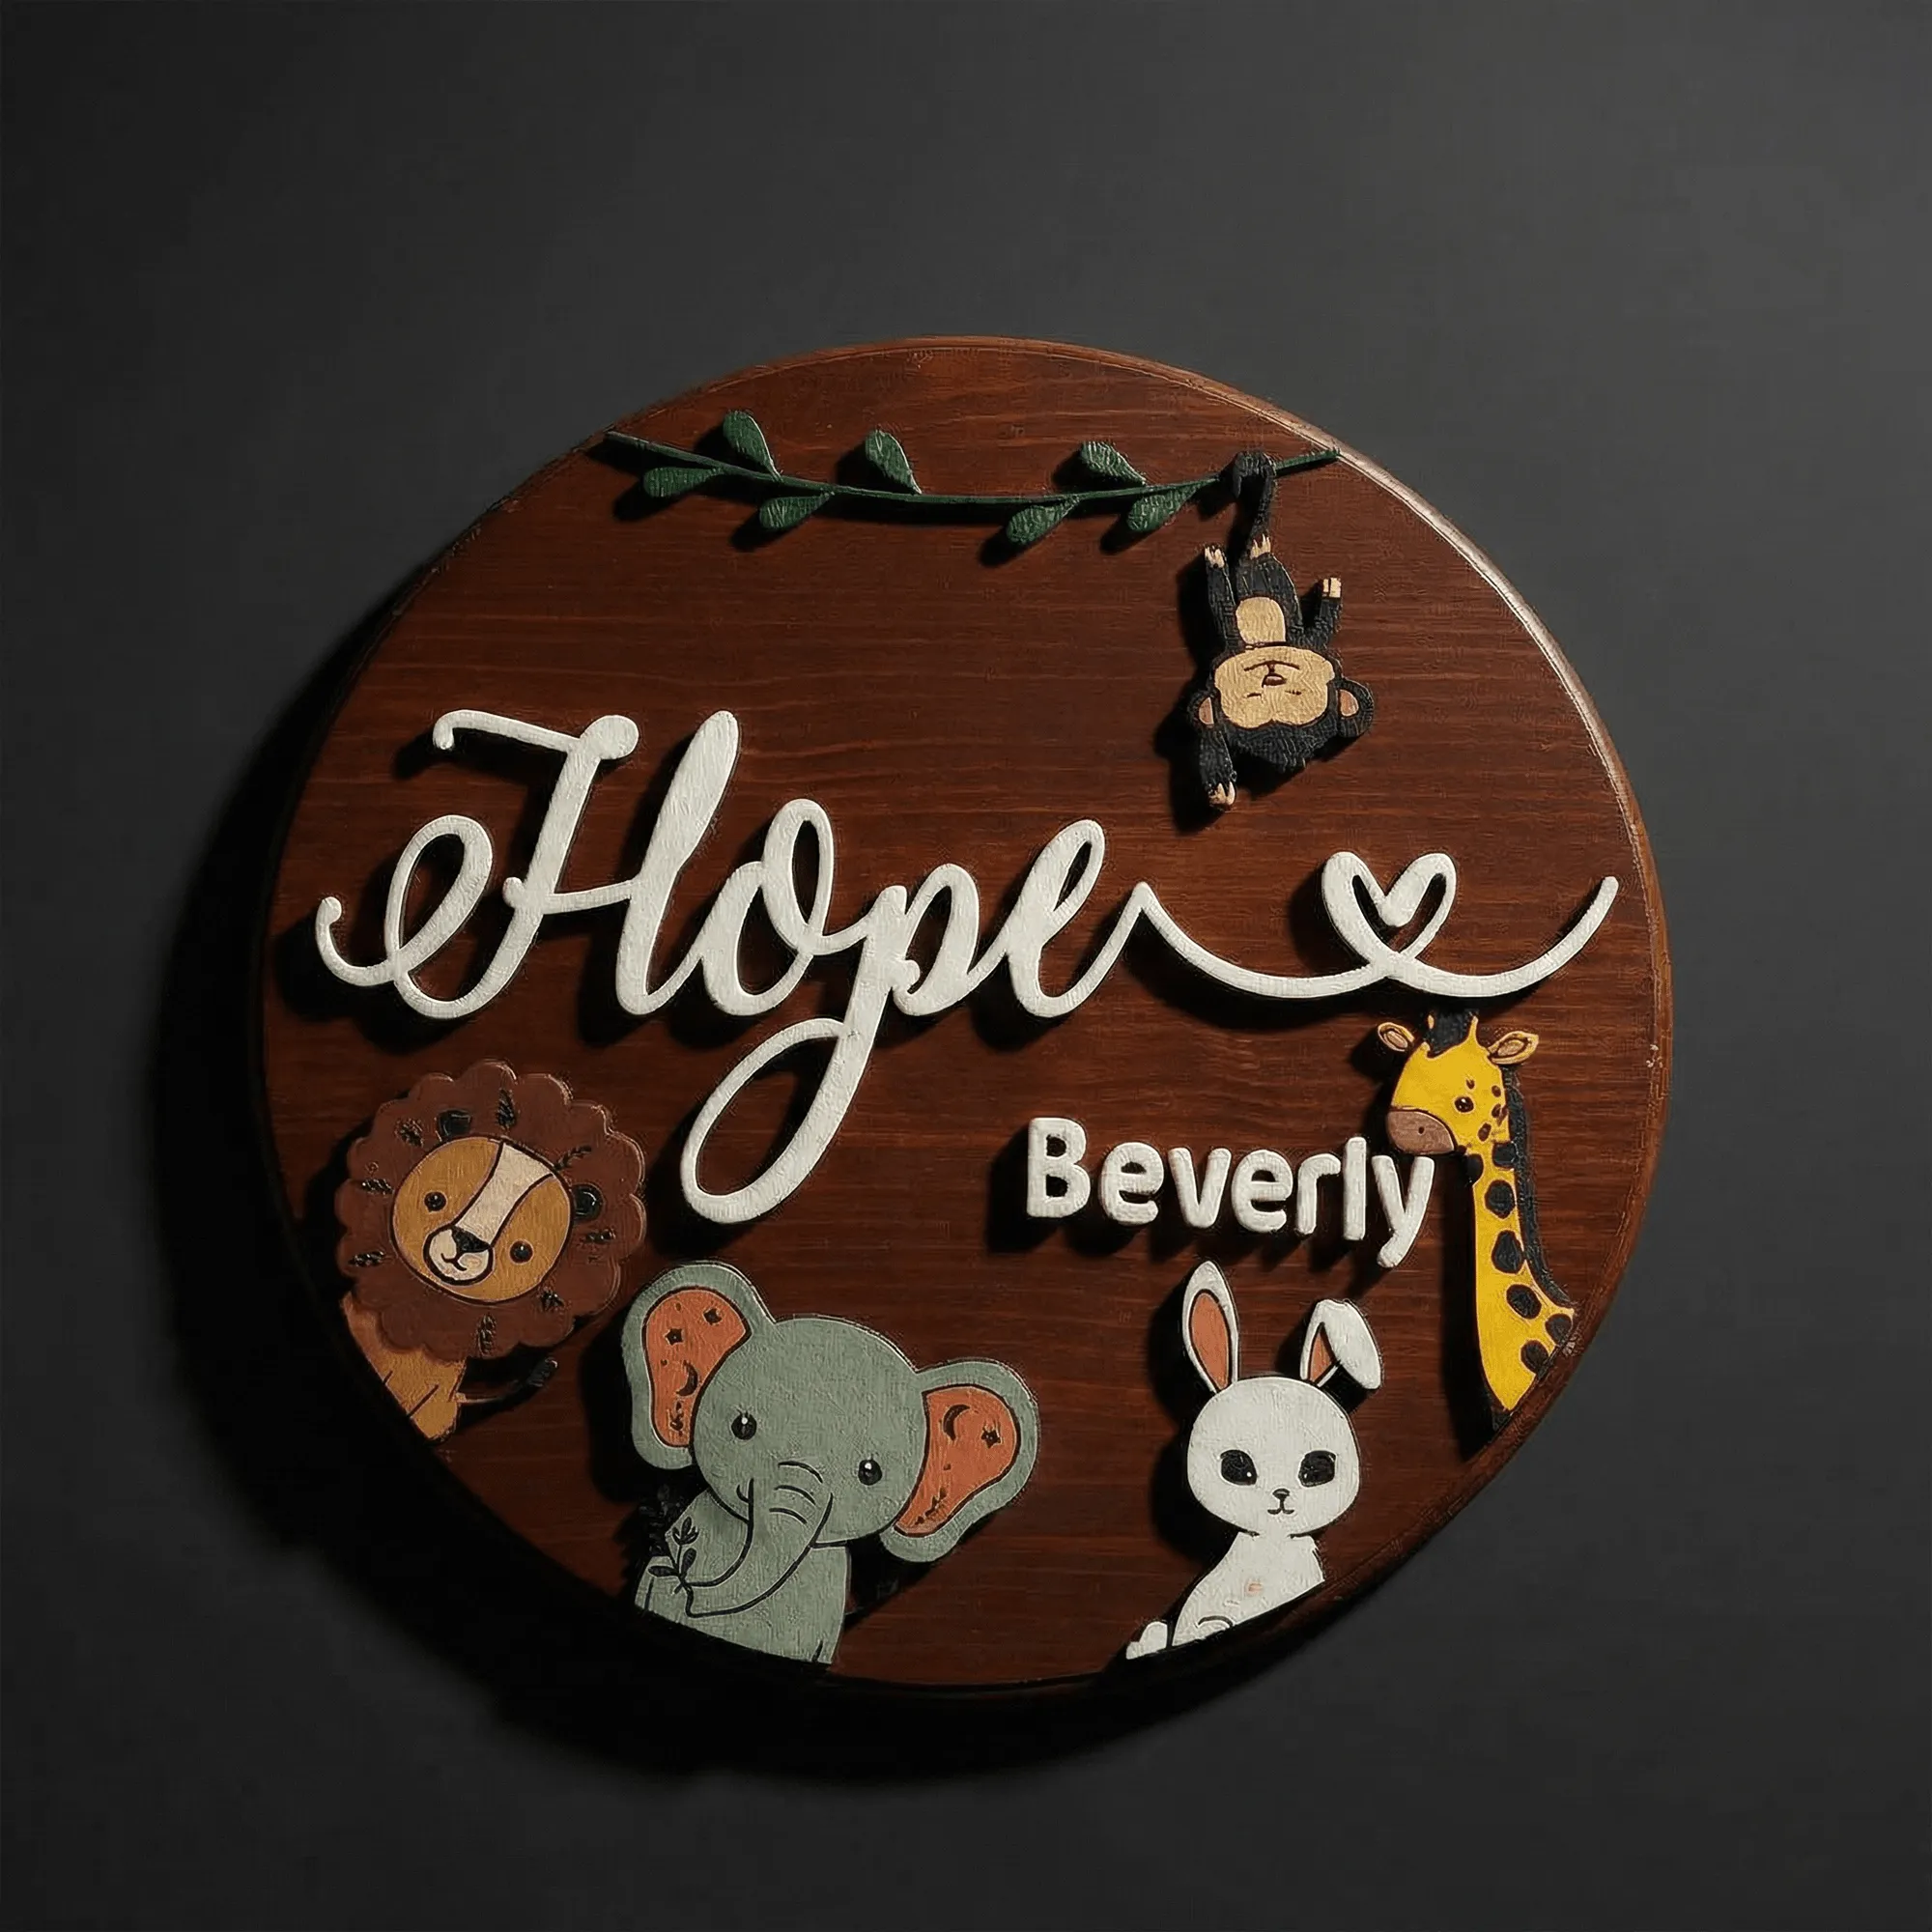
Once the board is picked, the design goes to the laser cutter. The machine only does what the file tells it to, and the file is built around your exact spelling, spacing, and letter style. A hand router can’t hold that kind of consistency from one order to the next. The laser can. Engraved names go into the wood itself. Layered names, like the raised banner on the mountain sign or the raised name on the baby sign, are cut separately and assembled on top.
For a piece like the Custom Mountain Name Sign, the silhouette and the lettering get cut in the same pass, so the alignment between the shape and the name is locked in before any sanding starts.
Three-pass sanding, by hand
A cut sign comes off the machine with sharp edges and a slightly charred laser line. It’s not ready for a wall yet. We sand every piece through three grits in sequence: a coarse pass to knock down the roughest edges, a medium pass to even the surface, and a fine pass that brings out the grain and gets the wood ready to take finish evenly. Production time on a standard name sign runs about 3 to 4 hours of hands-on work, and the sanding is where most of that time goes.
We sand with the grain, not against it, on every pass. Sanding against the grain is faster, and it shows: cross-grain scratches don’t disappear under finish, they just get sealed in. So we don’t do it, even when we’re behind.
Finish: oil, not lacquer
Once sanding is done, oil-finished signs like the mountain name sign get a natural matte oil that soaks into the wood rather than sitting on the surface like a lacquer or poly coat would. It keeps the grain visible and the wood feeling like wood. It also means the finish can be refreshed at home with a light coat of food-safe mineral oil years down the road, instead of needing to be stripped and redone. Painted pieces like the baby sign get a matte sealer instead.
Our signs are made for indoor use. If you plan to hang a piece outdoors anyway, our guide to sealing a wooden sign for outdoor use covers the options.
Proofing before we commit
Before anything ships, we check the piece against the order: right name, right spelling, right style, no flaws in the wood that would bother us if it came to our own door. If something’s off, a grain flaw we don’t love or a letter that reads too tight, we don’t send it and hope it’s fine. We cut again.
A memorial sign holds a name and a set of dates that have to read exactly right the first time, so the spelling and the dates get checked against your order twice before the laser starts, and the proof still comes to you first.
Packing and the last mile
Finished pieces get wrapped and boxed to survive the trip by USPS. We buy the shipping labels ourselves, order by order, rather than batching through a bulk shipping platform, which means a real person is looking at each address before it goes out.
Why we walk through all of it
The slow parts are three grits of sanding instead of one, a board picked for this order instead of pulled from a bin, and a proof checked against your actual order. A sign with a printed surface costs less. This one has wood under the name when you run a hand across it.
If you want to see how the process changes for a specific occasion (a nursery wall, a wedding entrance, a housewarming), browse the shop or read more about the wood we work in. Everything we’ve written about care, wood, and sizing sits together in our care and sizing guides.