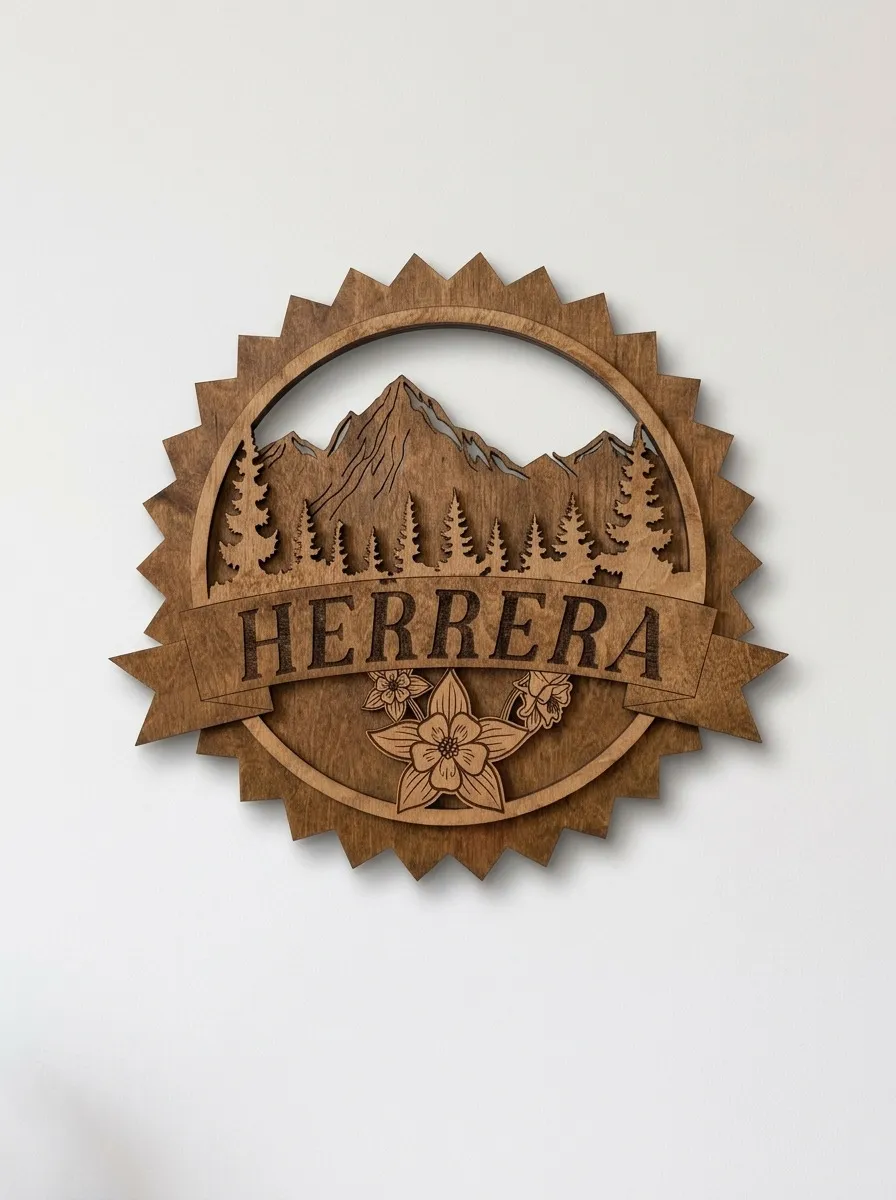
How to restore a weathered wood sign
Most weathered wood signs can be restored: the gray layer is surface-deep, with sound wood underneath. Restoration means cleaning with warm water and dish soap, then hand-sanding with 120-grit and 180-grit paper, working carefully around engraved letters so the recesses stay crisp, before re-oiling with a penetrating finish and resealing if the sign lives outside.
Say a sign was loved and then forgotten for two summers. The wood has gone silver-gray, the lettering reads faint, maybe there’s a crack starting at the top edge. Is it done for, or can it come back?
Restoration is mostly the patient removal of the tired gray surface and rebuilding the protection that should have been renewed along the way. What follows is the sequence, step by step.
Can a weathered wood sign be restored?
Take the sign down and look at it dry, in daylight. You’re sorting it into one of three buckets.
Surface-weathered: gray or faded color, dull finish, water no longer beads on it, but the board is flat and solid and the engraving still has depth. This is the common case.
Structurally tired: a crack you can catch a fingernail in, a corner going soft, a warp you can see when you sight down the board, or plywood edges starting to open. Some of this is fixable with glue, clamps, and patience. Some of it is character you decide to live with. A hairline surface check can be sealed and watched. A crack that flexes when you press on it means the board is telling you something.
Gone: rot you can dent with a thumbnail, delamination across a wide area, or engraving so shallow that sanding would erase it. At that point restoration costs more than it returns. No shame in it. Outdoor wood that was never resealed has a natural lifespan, and we’d rather help you plan the replacement than watch you sand a board that has nothing left to give.
If you’re not sure which bucket yours is in, photograph it straight-on and in raking light from the side and send it to us. We’ll tell you which bucket it’s in.
Clean before you judge the color
Part of the gray on a weathered sign is often not weathering. It’s dirt, pollen, and mildew film sitting on top of the finish, and it comes off with a soft brush, warm water, and a drop of dish soap. Work with the grain, rinse with a damp cloth rather than a hose, and let the sign dry for a full day somewhere with airflow.
Look again after it dries. Signs come back one shade warmer from a bath alone, and sometimes that’s the whole job: clean board, fresh coat of sealer, done. We’ve written up the routine cleaning side of this in our guide to cleaning an engraved wood sign, which is the maintenance habit that makes full restoration rare.
If the wood is still silver after cleaning, the surface fibers themselves are UV-degraded, and that layer needs to come off. That means sanding.
How do you sand around engraved letters?
Hand sanding only, light pressure, and stop early. Engraved lettering is a recess in the wood, and every pass of sandpaper lowers the surface toward the bottom of that recess. Sand aggressively and you’ll shallow the letters until the design loses its crispness, which is the one kind of damage nobody can undo.
Start with 120-grit on a sanding block, working with the grain, on the flat areas between and around the lettering. The gray fibers come off fast. You’ll see warm wood color within a few strokes. Follow with 180-grit to smooth the scratch pattern. Over the engraved areas themselves, switch to a light touch with the paper folded in your fingers, skimming the top surface without pressing down into the letters. The goal is to brighten the field the letters sit in, and mostly leave the recesses alone. Engraving that has genuinely faded inside the recess can be darkened again with a fine brush and a matching stain or paint, which is fiddly work but very doable at a kitchen table.
Wipe all the dust off with a barely damp cloth and let it dry. What you should be looking at now is a board that reads like itself again: warm field, crisp letters, no finish left to speak of.
Rebuild the protection
Bare, freshly sanded wood is at its most vulnerable, so don’t stop here and call it rustic.
Feed the wood first. A coat of a penetrating oil finish restores the depth of color that sanding exposes and keeps the surface from drying back out. This is the same kind of natural matte oil the mountain name sign ships with, and one coat, wiped on and buffed off, is usually enough on a restored piece.
Then, if the sign is going back outside, seal it. Oil alone is an indoor-grade defense. The full outdoor schedule, product types, coat counts, and drying times, is in our guide to sealing a wooden sign for outdoor use, and it applies to a restored sign exactly as it does to a new one. While you’re at it, reconsider the location that weathered it in the first place. Our post on wood signs in winter covers why the hanging spot ages a sign faster than the calendar does.
How often should a restored sign be resealed?
Check it every spring: take it down, run a hand over it, and recoat when water stops beading. The usual cause of a weathered sign is a skipped yearly check. Restored signs get the same ritual new outdoor signs do. Ten minutes a year, and most years none of it needs sandpaper.
And if your board landed in the third bucket, the one past saving, we can cut its successor with the same name and the same layout. Our signs are made for indoor use, so tell us where the new one will hang and we’ll say whether it fits.